Greymoor: Shadows, Challenges, and the Art of Survival
- Sep 15, 2025
- 0
Amidst a forsaken and barren This rephrasing maintains the original context while using unique wording enigmatic world lies a section known as Greymoor, a place where dampness and darkness interplay to create an atmosphere filled with unforeseen perils and secrets waiting to be unlocked. The journey through This realm isn't meant for the timid, considering that… relentless foes and ever-changing terrain challenge even the most resilient adventurer. Amid the chaos, resourcefulness and patience shine as essential tools, whether you are mastering new techniques or steadily navigating hazardous gauntlets. Every step forward in Greymoor "represents a chance not merely to exist, but also to thrive." for the discovery of rare skills and coveted relics that empower the traveler to brave the mysterious depths of this foreboding landscape.
Exploring the Gloomy Terrain of Greymoor
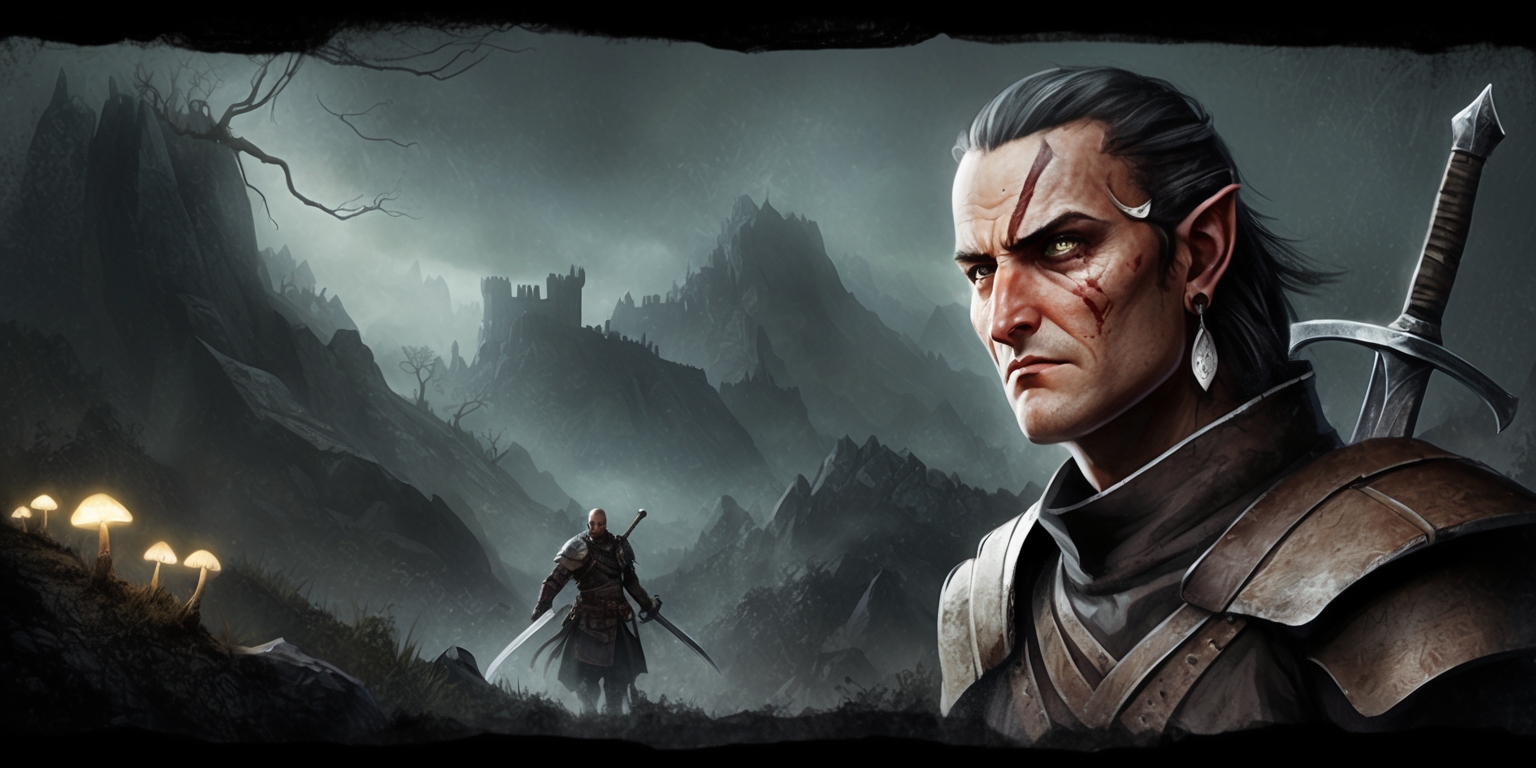
The domain of Greymoor unveils itself as an arena cloaked in persistent dampness and fleeting shadows. Its environment is an intricate labyrinth, where every corner hides waiting adversaries and push-to-the-limit obstacles that test one’s agility and focus. Upon entering from a soaring updraft in Far Fields, the environment quickly reinforces its somber tone. The natural obscurity mixed with sporadic flickers of luminescence on aged architecture invites a careful, calculated approach. The design of this segment compels the player to remain constantly vigilant and adaptive, as navigating through narrow ledges and unstable platforms demands both intuition and precise control. The atmosphere, saturated with an underlying melancholy and latent danger, transforms the exploration into an artful dance between perseverance and calculated risk.
Ascending Through the Updraft and Far Fields
The entrance into Greymoor begins with an exhilarating passage through one of Far Fields’ remarkable updrafts. This segment offers a brief respite from the oppressive shadows below, as the soaring motion provides a feeling of brief liberation before descent. Pilgrims of the air glide through the currents, reveling in the unexpected beauty of fleeting aerial vistas that contrast starkly with the darkness that awaits below. The mechanics of this transit, enhanced by the Glider’s Cloak, encourage players to master aerial control before confronting the menacing ground-based adversaries. The transition from skyward freedom to a grounded environment loaded with intricate pathways emphasizes a well-honed balance between exploration and precision. Such challenges emphasize the need to understand environmental interplay, significantly impacting the strategy employed during the journey.
Securing Vital Navigational Tools
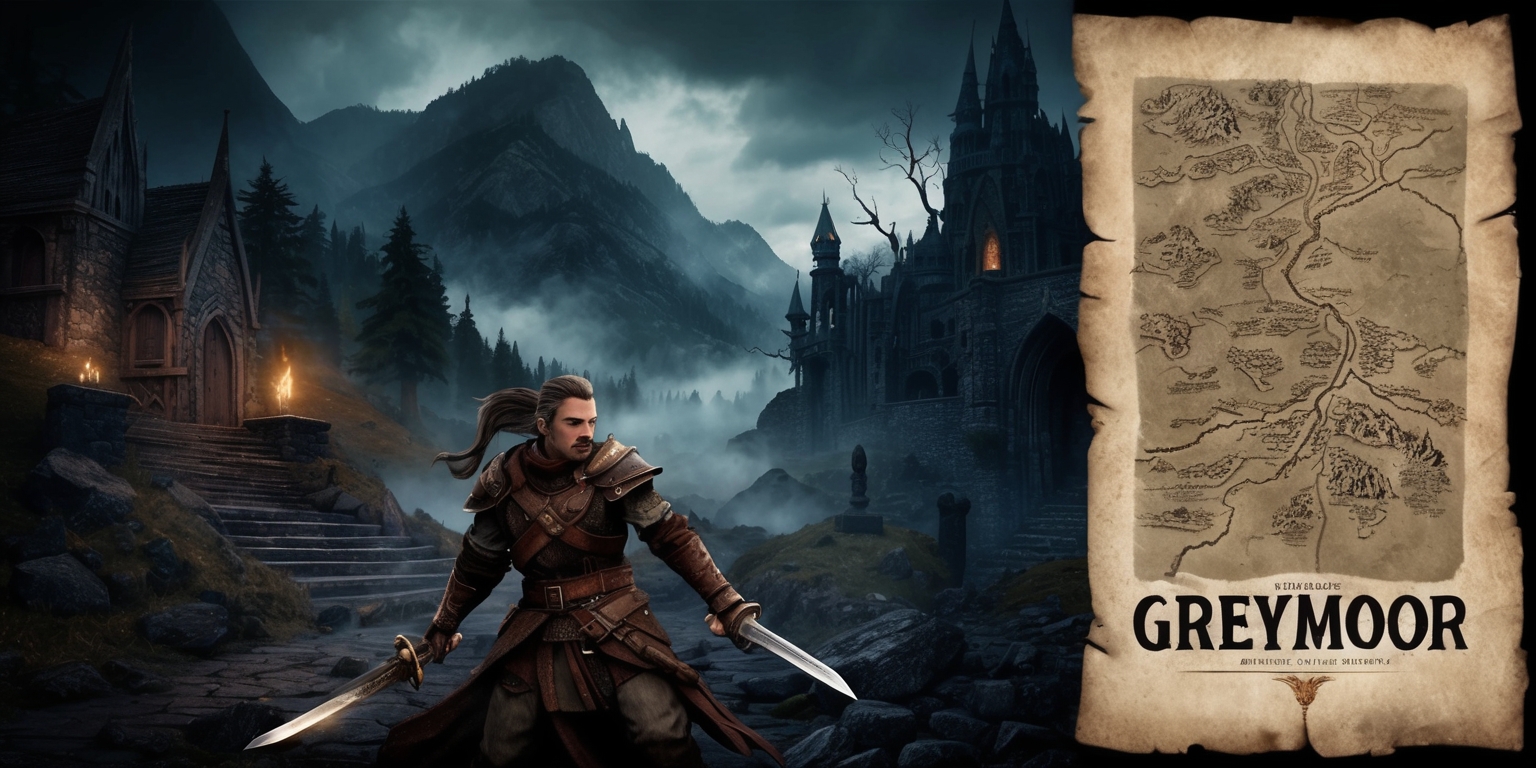
Shortly after the descent into Greymoor, the importance of mapping the treacherous region becomes evident. As you traverse the damp corridors and shadowed nooks, you encounter a key character whose presence is vital for survival. Shakra, stationed at a safe spot upon arrival, offers a crucial map for a modest price – a transaction that highlights the game’s emphasis on resource management. Purchasing The map is far more than merely an ordinary depiction exchange; it equips explorers with an essential tool to better gauge the maze-like passageways ahead. This moment is not merely about acquiring directions but about instilling a sense of preparedness and strategic foresight. Meanwhile, Shakra’s location also doubles as a respite, a place where one can briefly hedge against the unpredictability of the challenges lurking beyond.
Surviving the Challenge of Craw Lake
The passage towards Craw Lake emerges as a formidable gauntlet that tests both skill and courage. This stage is reminiscent of a gauntlet in which the player must patiently weave through converging attacks from airborne opponents and ground-based hazards. The design of this part of Greymoor is deliberately unforgiving, prompting repeated attempts to find the optimal timing and maneuvering strategies. As the explorer advances, a strategic stop at a guarded house featuring a gate and a mechanical lever introduces the potential for a safer retreat route. The crafting of this hazard-filled sequence forces the user to engage in continuous practice of dodging and precise timing. Each encounter not only enhances the player’s reflexes but also reinforces the necessity for a methodical and observant approach to overcoming the perilous gauntlet.
Discovering the Elusive Lost Flea
After navigating the challenges of the Craw Lake gauntlet, the journey takes a promising turn with the pursuit of a unique encounter. By following buoyant platforms and carefully planned balloon ascents, the explorer can locate the Lost Flea—a distinct find that holds significance in the area’s sprawling narrative. This detour requires navigating both vertical and horizontal obstacles, including evasive enemies that must be either evaded or subdued to maintain momentum. The design of this segment emphasizes not only quick reflexes but also an analytical mindset to determine the safest route among precarious platforms and potential ambush points. The approach to securing the Lost Flea thus becomes an immersive interplay between the thrill of discovery and the calculated execution of precise movements, ultimately rewarding the player with valuable in-game currency and progress markers.
Establishing a Secure Haven in Greymoor
The unforgiving terrain of Greymoor necessitates safe havens where one can temporarily regroup and strategize. Shortly after the gauntlet challenges and upon completing certain navigational tasks, players encounter an opportunity to set up an activation point reminiscent of a resting seat. Here, amidst the winding paths and challenging landscapes, an intricately placed bell functions as more than just a tool—it offers respite and a safe checkpoint. Activating this rest point secures crucial progress, allowing players to save their journey and stock up on necessary supplies. The aesthetics of this resting area fuse elements of dilapidated architecture with hints of long-forgotten mystique. This interplay between danger and temporary reprieve underscores a design philosophy that balances intense action with brief, contemplative intervals, where players can reflect and prepare for the demanding segments still to come.
Mastering the Unique Thread Storm Technique
A critical turning point along the quest through Greymoor is the acquisition of an exceptional ability known as the Thread Storm. This new skill redefines combat dynamics and opens the door for more versatile and aggressive tactics against the myriad foes encountered in the region. The method to obtain this ability involves deftly navigating through a tricky series of platforms, levers, and balloon-assisted leaps. Its execution demands both timing and precision, as the user must engage several adversaries in a controlled environment before the reward is finally secured. The Thread Storm ability not only diversifies the player’s combat repertoire but also underlines the game’s emphasis on rewarding persistence with tangible improvements. As the new skill replaces previous methods, it transforms the way players approach confrontations, offering a broader range of tactical options against enemies of varying sizes and attack patterns.
Collecting the Mystic Threefold Pin
Further into the heart of Greymoor, a secretive area reveals the mystic Threefold Pin—a special relic that enriches the overall quest line. The path to this collectible is methodically designed, with elaborate false walls and cleverly concealed passages that demand careful exploration. Here, the player must exhibit curt decisiveness to bypass potential distractions and secure the artifact. The rarity of the Threefold Pin lies not only in its intrinsic value to the player’s progress but also in its role as an emblem of the ingenuity Seemingly hidden behind deceptive architectural features and guarded by vigilant foes, this relic stands as a a clear demonstration of the benefits awaiting those bold enough to fully explore the layered expanses of Greymoor.
Advancing Through the Trials of Halfway Home
As the journey approaches a critical juncture, the pathway known as Halfway Home emerges as both a physical and metaphorical crossroads. This segment of Greymoor is teeming with encounters that test one’s tactical acumen, where interactions with both hostile pilgrims and interactive devices challenge one's resolve. Traversing through narrow corridors and elevated platforms, the traveler finds that each confrontation nudges them closer to unlocking additional resources like Rosary Strings in exchange for beads. The careful balance between evading threats and engaging selective enemies reveals a design that caters to varied playstyles. While some players opt for a conservative approach, others may test their newly acquired abilities in skirmishes that offer a chance to hone combat timing. The sheer diversity of challenges in this segment reinforces the immersive nature of Greymoor’s sprawling narrative.
Confronting Peril in the Reaper’s Domain
The path eventually leads to the ominous threshold of the Reaper’s Chapel—a foreboding sanctuary teeming with meticulously designed hazards. In navigating this stark interior, players encounter a series of dangerous pitfalls and clever enemy placements that escalate the tension with every step. The design of the chapel encourages a measured approach, where reaching the apex requires strategic dashes, careful dodges, and astute use of the Thread Storm technique. Within its walls, a variety of contraptions, such as swinging platforms and obscured passageways, add layers of difficulty that test the player’s mastery over their movements. Each segment within the chapel appears intentionally crafted to heighten suspense, ensuring that moments of triumph are earned through both skill and unwavering patience. The fluid dynamics between static hazards and agile adversaries create an engaging and heart-pounding environment that stands as one of Greymoor’s true highlights.
Final Convergence: The Flea Caravan and the Moorwing Encounter
Upon emerging from the controlled chaos of the Reaper’s domain, the journey reaches a critical branching point where prior choices dramatically influence subsequent events. The explorer now finds the option to engage with the Flea Caravan—a collective that offers a less confrontational, yet equally rewarding, transition towards the latter stages of the adventure. By having previously aided and rescued key characters, the pathway here becomes imbued with a sense of consequence and alternate progression. In contrast, those who choose a more combative route may find themselves facing the formidable Moorwing, a challenge that necessitates honed skills and a deep understanding of the game’s dynamic combat system. The layout of this area is filled with narrow gaps, precarious drops, and rapidly shifting platforms, ensuring that every decision made along the way carries its Each possesses its own distinctive mix of challenges and benefits. The complex… design of this final convergence beckons players to choose their fate, highlighting how formative early decisions resonate throughout the grim expanse of Greymoor.